
This guide will show you how to install datapacks to your server.
Disclaimer: Datapacks are worse performance-wise than plugins, use plugins where you can!
Step 1:
Download your desired datapack.
Step 2:
Stop your server and optionally (but highly recommended) create a backup from the Backup tab.
 Storyboard
Step 3:
If your datapack is in a folder instead of a .zip file, or it's larger than 100 MB, you will need to use SFTP (Step 3b) to upload it.
Step 3a:
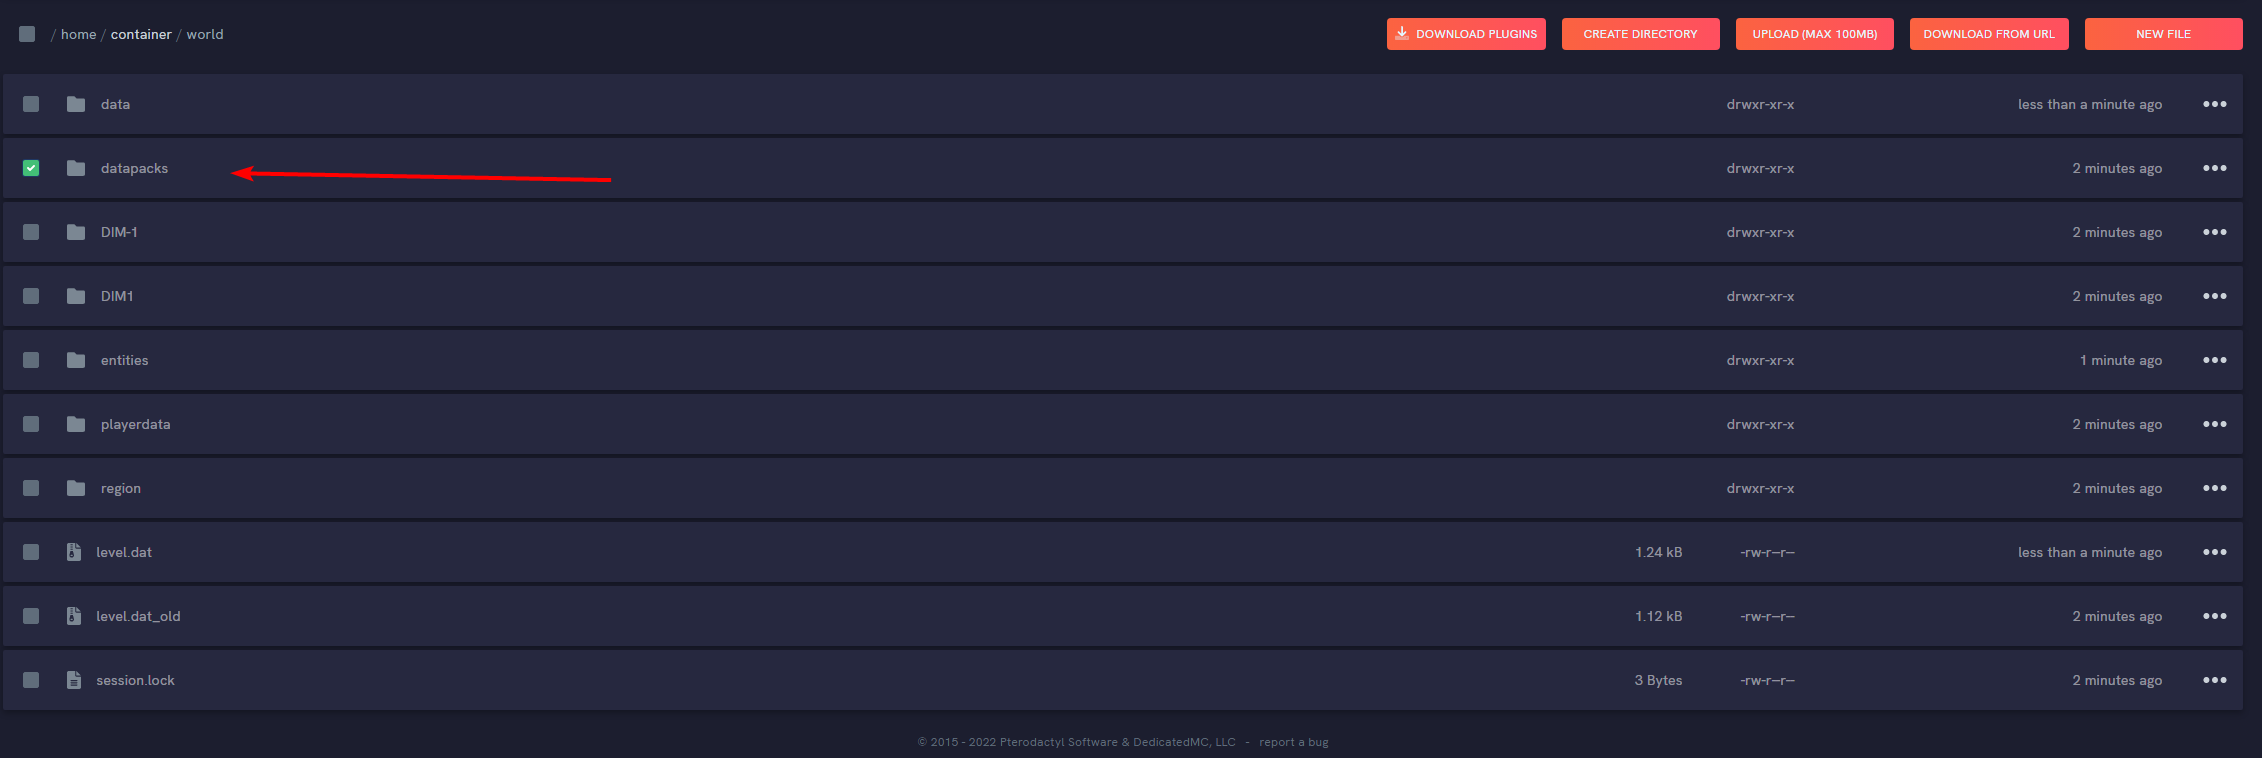
If the datapack is a .zip file and less than 100 MB, you can upload it straight from the panel. On the File Management tab, navigate to your world folder and then open the folder called datapacks.
Press the Upload button and upload the datapack from your PC/
Step 3b:
Open your favorite SFTP program and connect to your server.
Afterwards navigate to your world folder and the inside the datapacks folder.
Now upload the datapack zip or folder directly in the datapacks folder of your server.
NOTE: if the datapack is a folder itself, it must be uploaded as is with the folder. DO NOT, open the folder and upload only the files inside.

Step 4: Start your server, and monitor the startup. It should display the name of the datapack, which indicates that it has loaded correctly.

And there you go! You have now installed a datapack on your server. Remember, read the documentation carefully of each datapack, as some of them can modify your world, and will not allow you to boot your server if you try booting it without the datapack installed.