
Want to allow Bedrock players to be able to join your Java server? Follow this guide to learn how!
Guide
Step 1: Downloading Geyser
You will need to download the plugin version of Geyser.
First go to GeyserMC's website here and click on the Download Button in the top right
Then you should download the Geyser-Spigot.jar file
Every time Bedrock Edition receives an update, you will need to download a new update from Geyser.

Step 3: Installing Geyser
You can install the Geyser plugin like any other plugin. If you haven’t installed a plugin before or need help, you can follow this guide:
 Tehlo
TehloStep 4: Configuring Geyser
Now we need to configure Geyser to allow connections from Bedrock Edition.
After installing the Geyser plugin, start your server to generate the Geyser config file.

Once your server has been started successfully, stop it and move to File Management.
We will need to edit Geyser's port configuration, as the default Bedrock port is not the same as the default Java port.
The config file can be found in the Geyser plugin folder usually /home/container/plugins/Geyser-Spigot/config.yml.
You have a few options on what to set the port to!
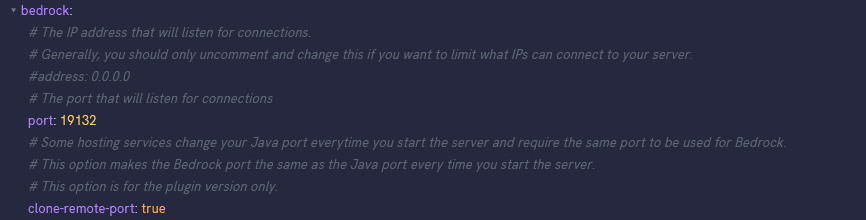
First Option: Using the same port as Java Edition.
If you would like Geyser to use the same port as your server, open the configuration file and set the clone-remote-port option to true.
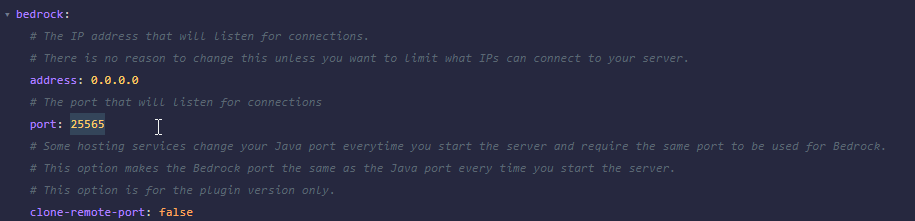
Second Option: Setting a custom port.
If you would like Geyser to use a different port, you must first add it as an allocation from Network Settings.
If you don't know how to add a port, check our guide below!
The guide below will also show you how to add the default Bedrock Port if you have a dedicated IP!
StoryboardAfter adding the port from your allocations, open the configuration file and set the port option to the port you received from Network Settings.
In the config, you can also edit the Server Name and MOTD that will show up to Bedrock players, but note the MOTD window on Bedrock is pretty small.

Once you have your port and MOTD in, we can save the file and go back to the console.
Start your server again and wait for it to fully load.
And you should see Geyser using the new port we just set.

It may show you a warning about running in a Docker image. DedicatedMC are configured correctly and this will not be an issue.
Step 5: Connecting to the server
Geyser is now up and running! Congrats!
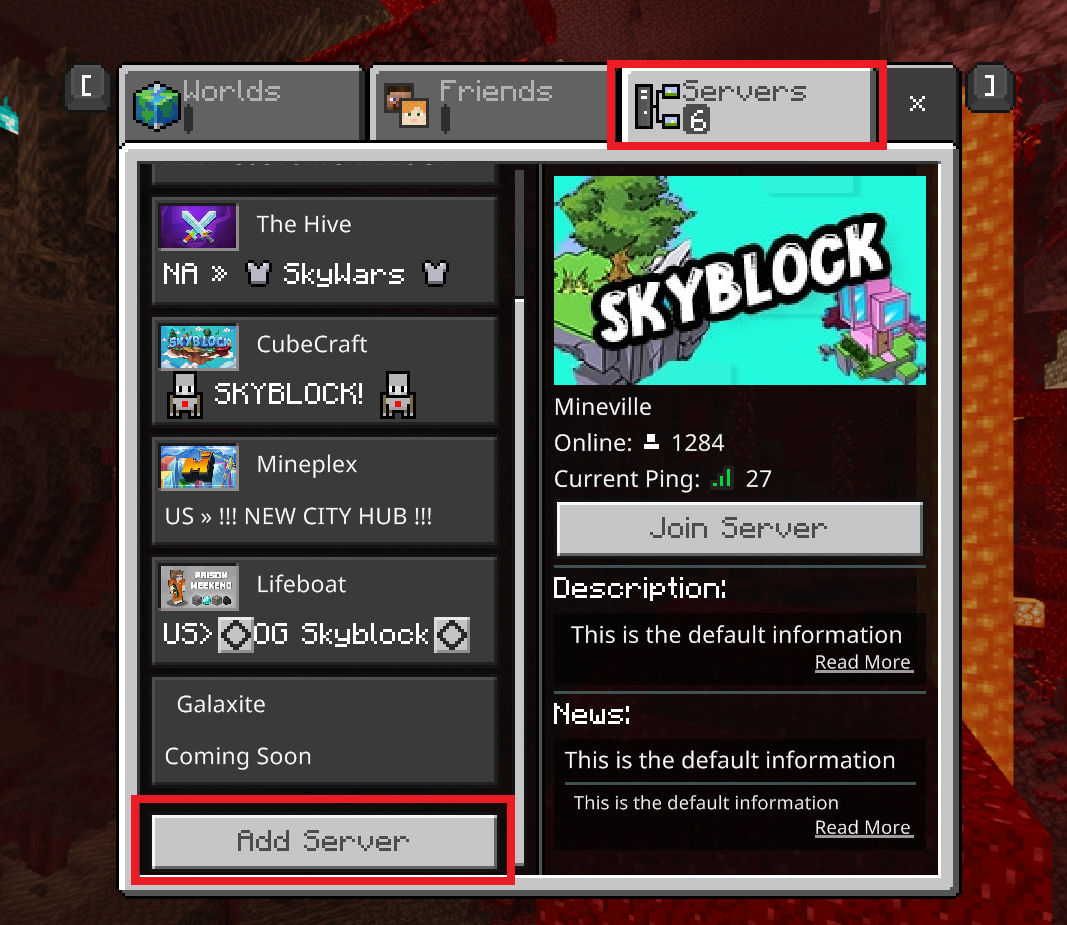
For your Bedrock players to be able to connect to your Java Server, they need to add it to their server list.
Once added, use the IP of your server and the port we configured earlier.
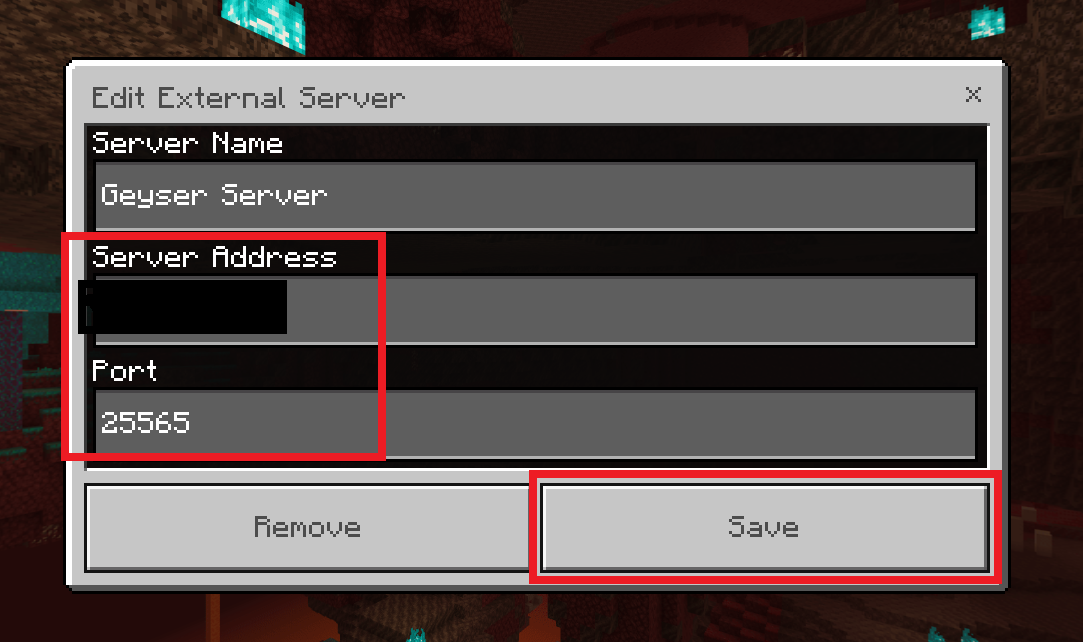
You should now see the server in the list of Bedrock servers with the server name and MOTD we configured!

The players can now connect like normal, but they will be prompted to log in with a Java account. They do not need Java Edition installed, but they will need a Java Edition account.
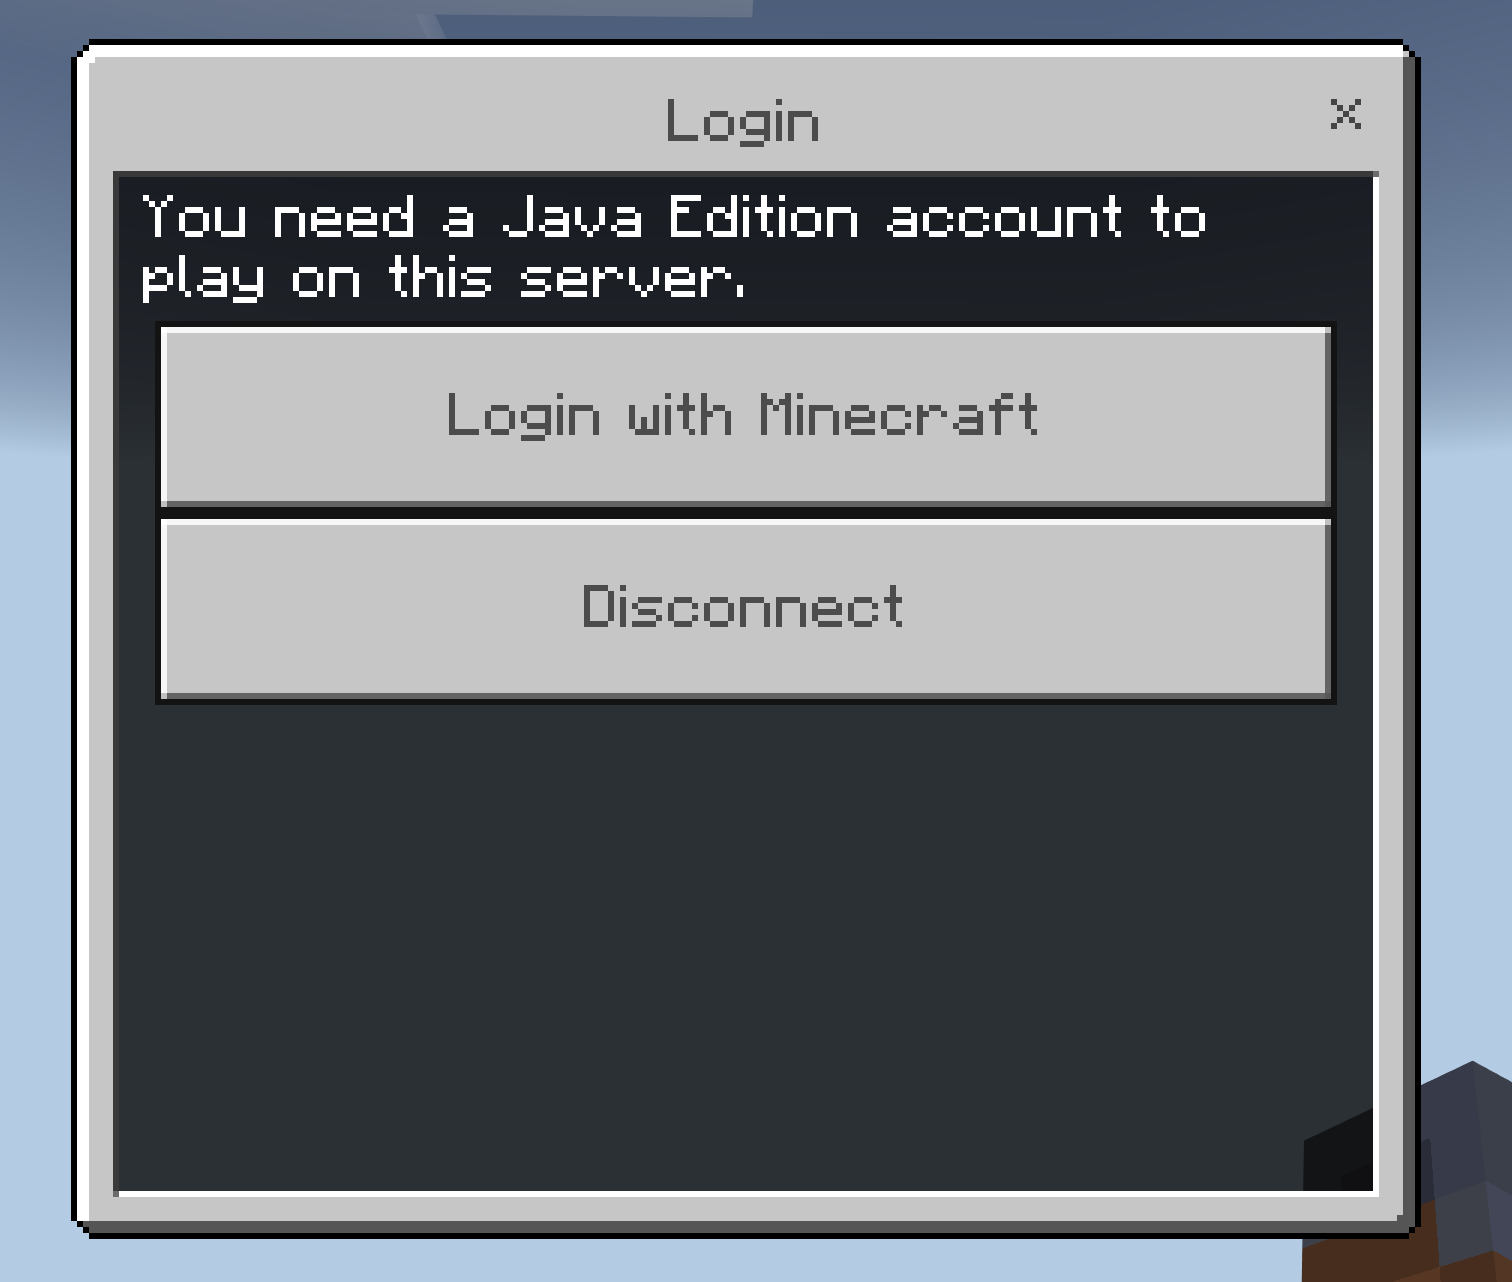
Once this is done, they will be on the server and can play with other Java players! It will use the skin of the Java account that was used to log in, not the Bedrock skin.

Done!
Floodgate
By default, Bedrock players will also need a Java account to connect to a Java server, the Floodgate plugin removes this requirement. Here is how to install it:
- Download the Floodgate plugin from here.
- Place it in your plugins folder
- Change the
auth-typein the Geyser config tofloodgate. - Restart the server
Done!